This guide walks you through the simple process of setting up your new BitBox02 for the first time.
Setting up your device is a fast and easy process. Following these steps will help you initialize your hardware wallet and secure your crypto right away.
What you'll need:
- Your BitBox02 device
- The included microSD card
- A computer (Windows, macOS, Linux) or Android smartphone
- An internet connection to download the BitBoxApp
Step 1: Get the BitBoxApp
First, download and install the BitBoxApp on your computer or Android phone.
- Go to the official download page:
bitbox.swiss/download - Select the version for your operating system (Windows, macOS, Linux, or Android).
- Install and open the app.
Step 2: Connect your BitBox02
- Insert the included microSD card into your BitBox02.
- Plug the device into your computer or phone using the provided cable and adapter if needed.
- The device will power on, and the BitBoxApp will automatically guide you.
Step 3: Follow the setup in the app
The BitBoxApp makes the rest of the setup process very straightforward. You will be prompted to complete the following actions.
- Install firmware: For new devices, the app will prompt you to install the latest firmware. This ensures your BitBox02 has the most up-to-date security features. Follow the on-screen prompts to complete the installation.
- Choose display orientation: Touch the side of the device that is most convenient for you.
.png)
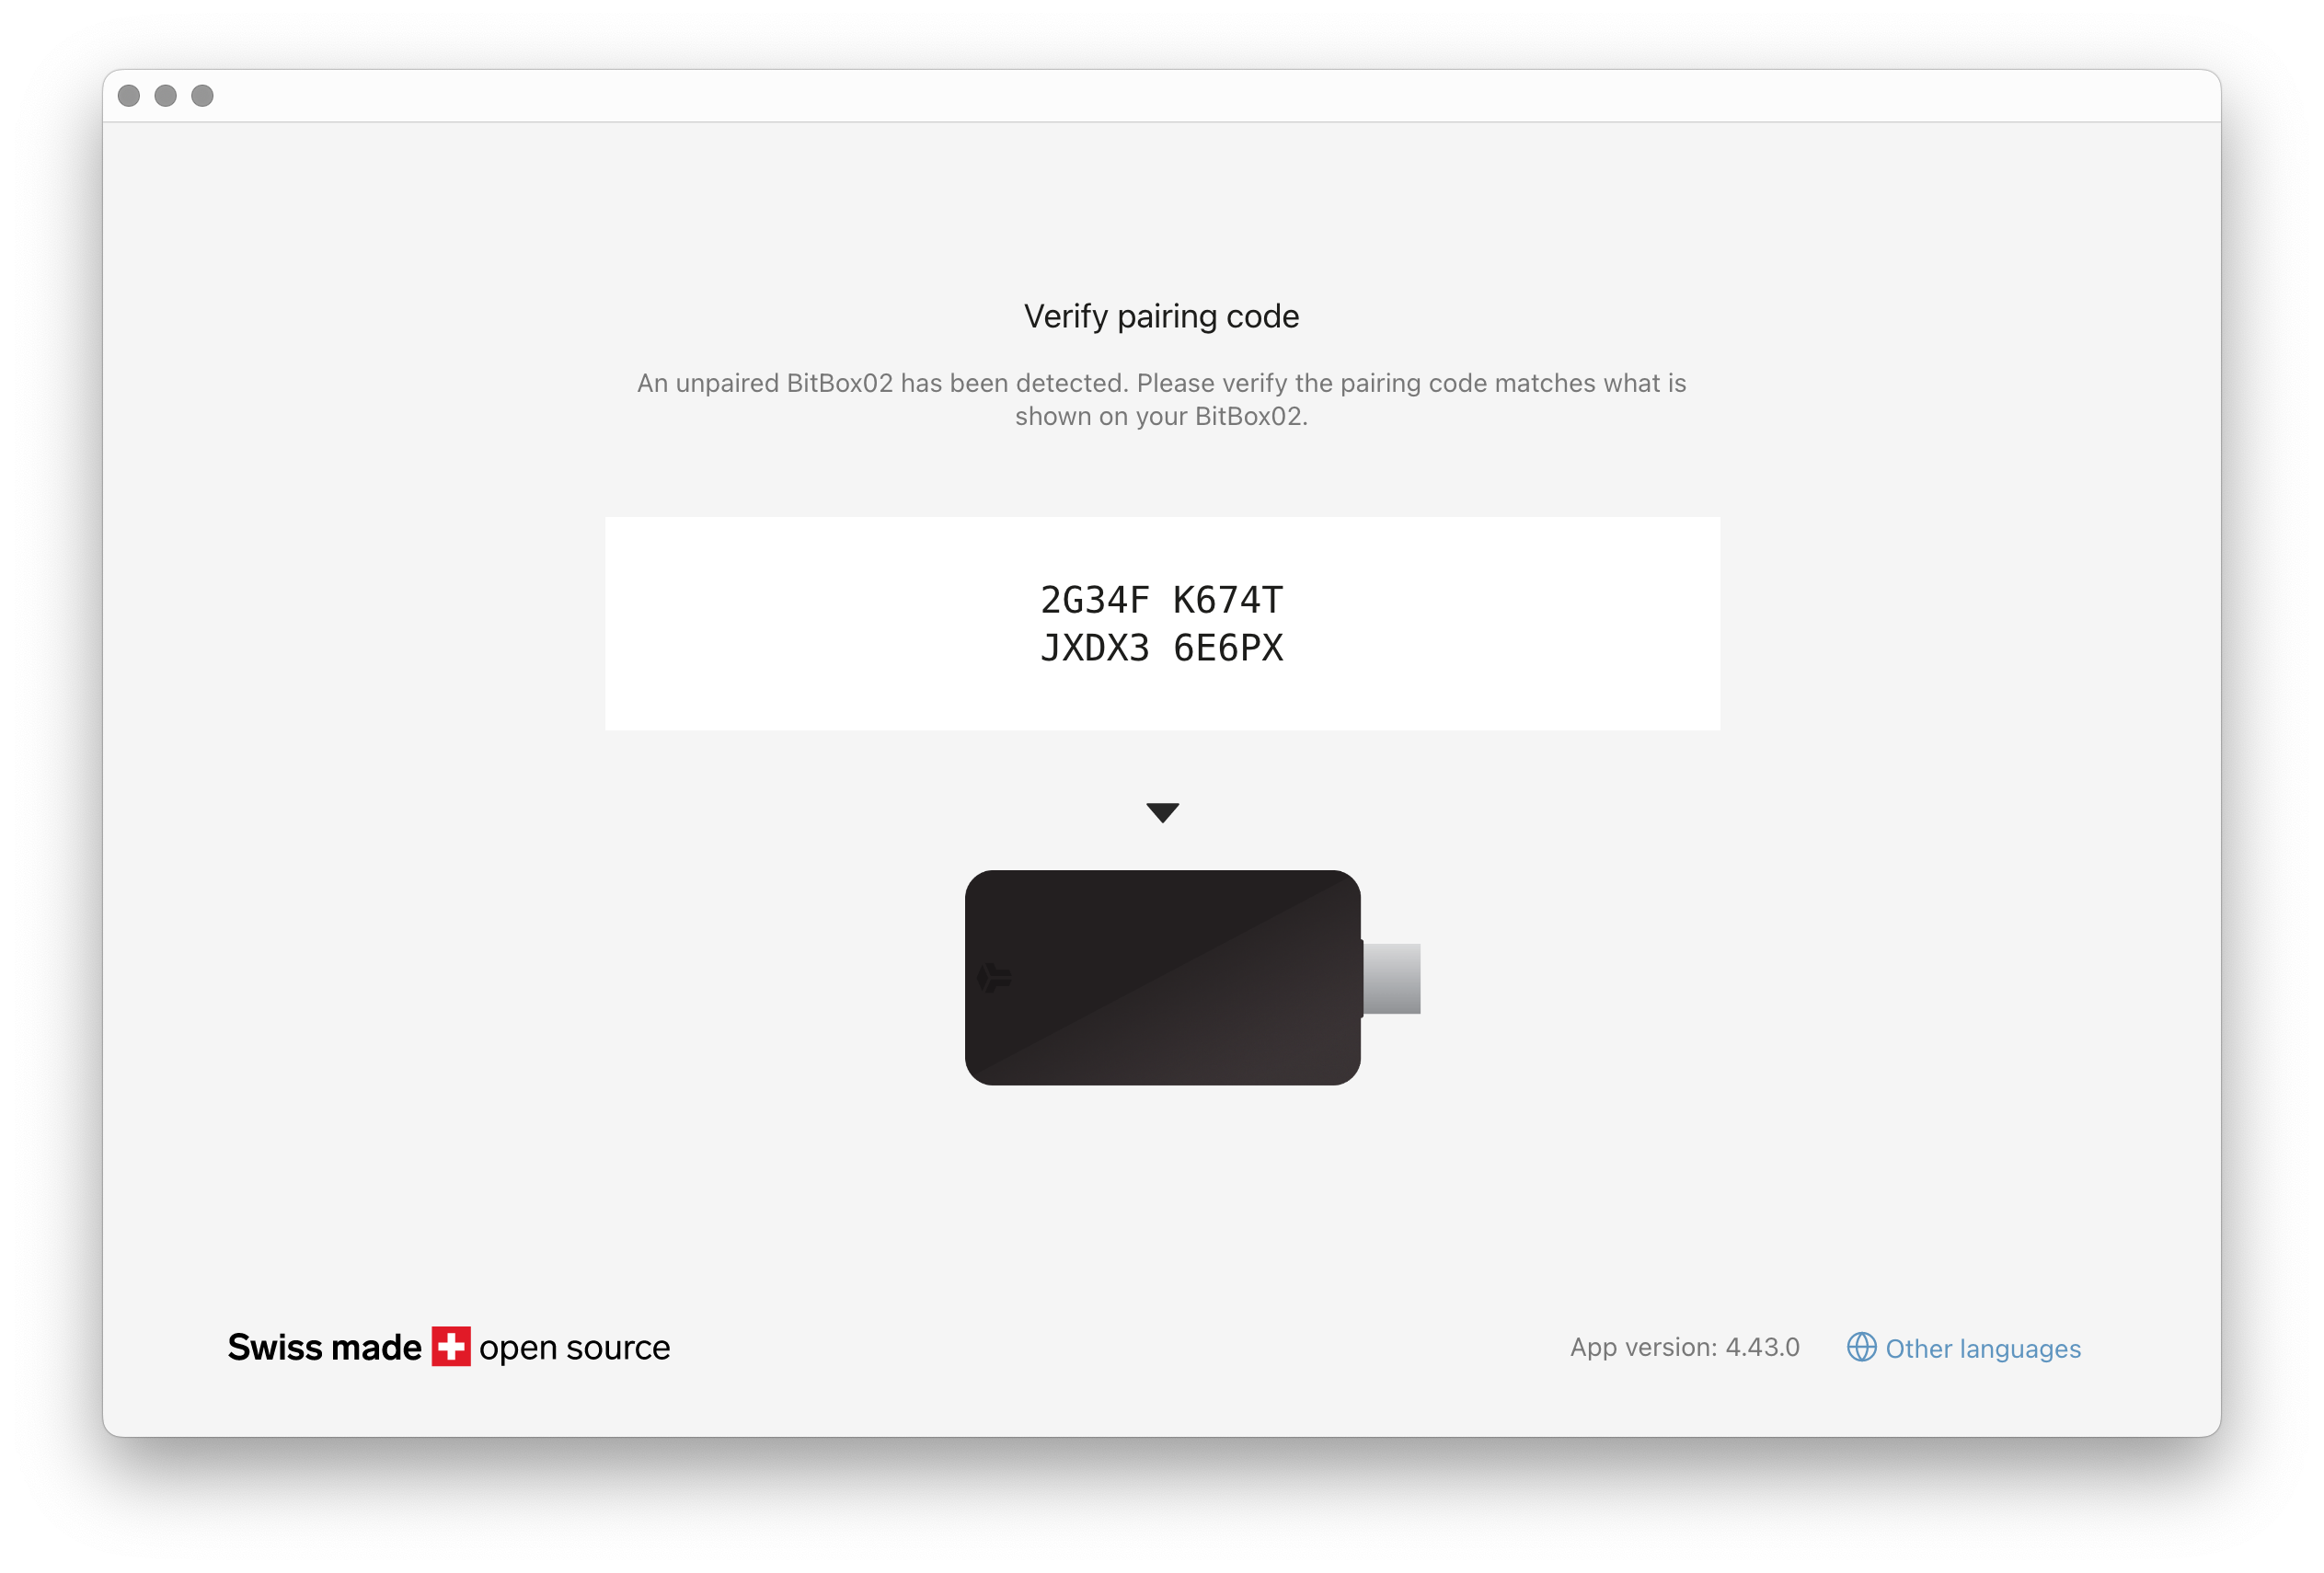
- Confirm pairing code: For your security, you must verify that the code shown in the BitBoxApp matches the code displayed on your BitBox02 screen. This confirms a secure connection between the app and your device.

-
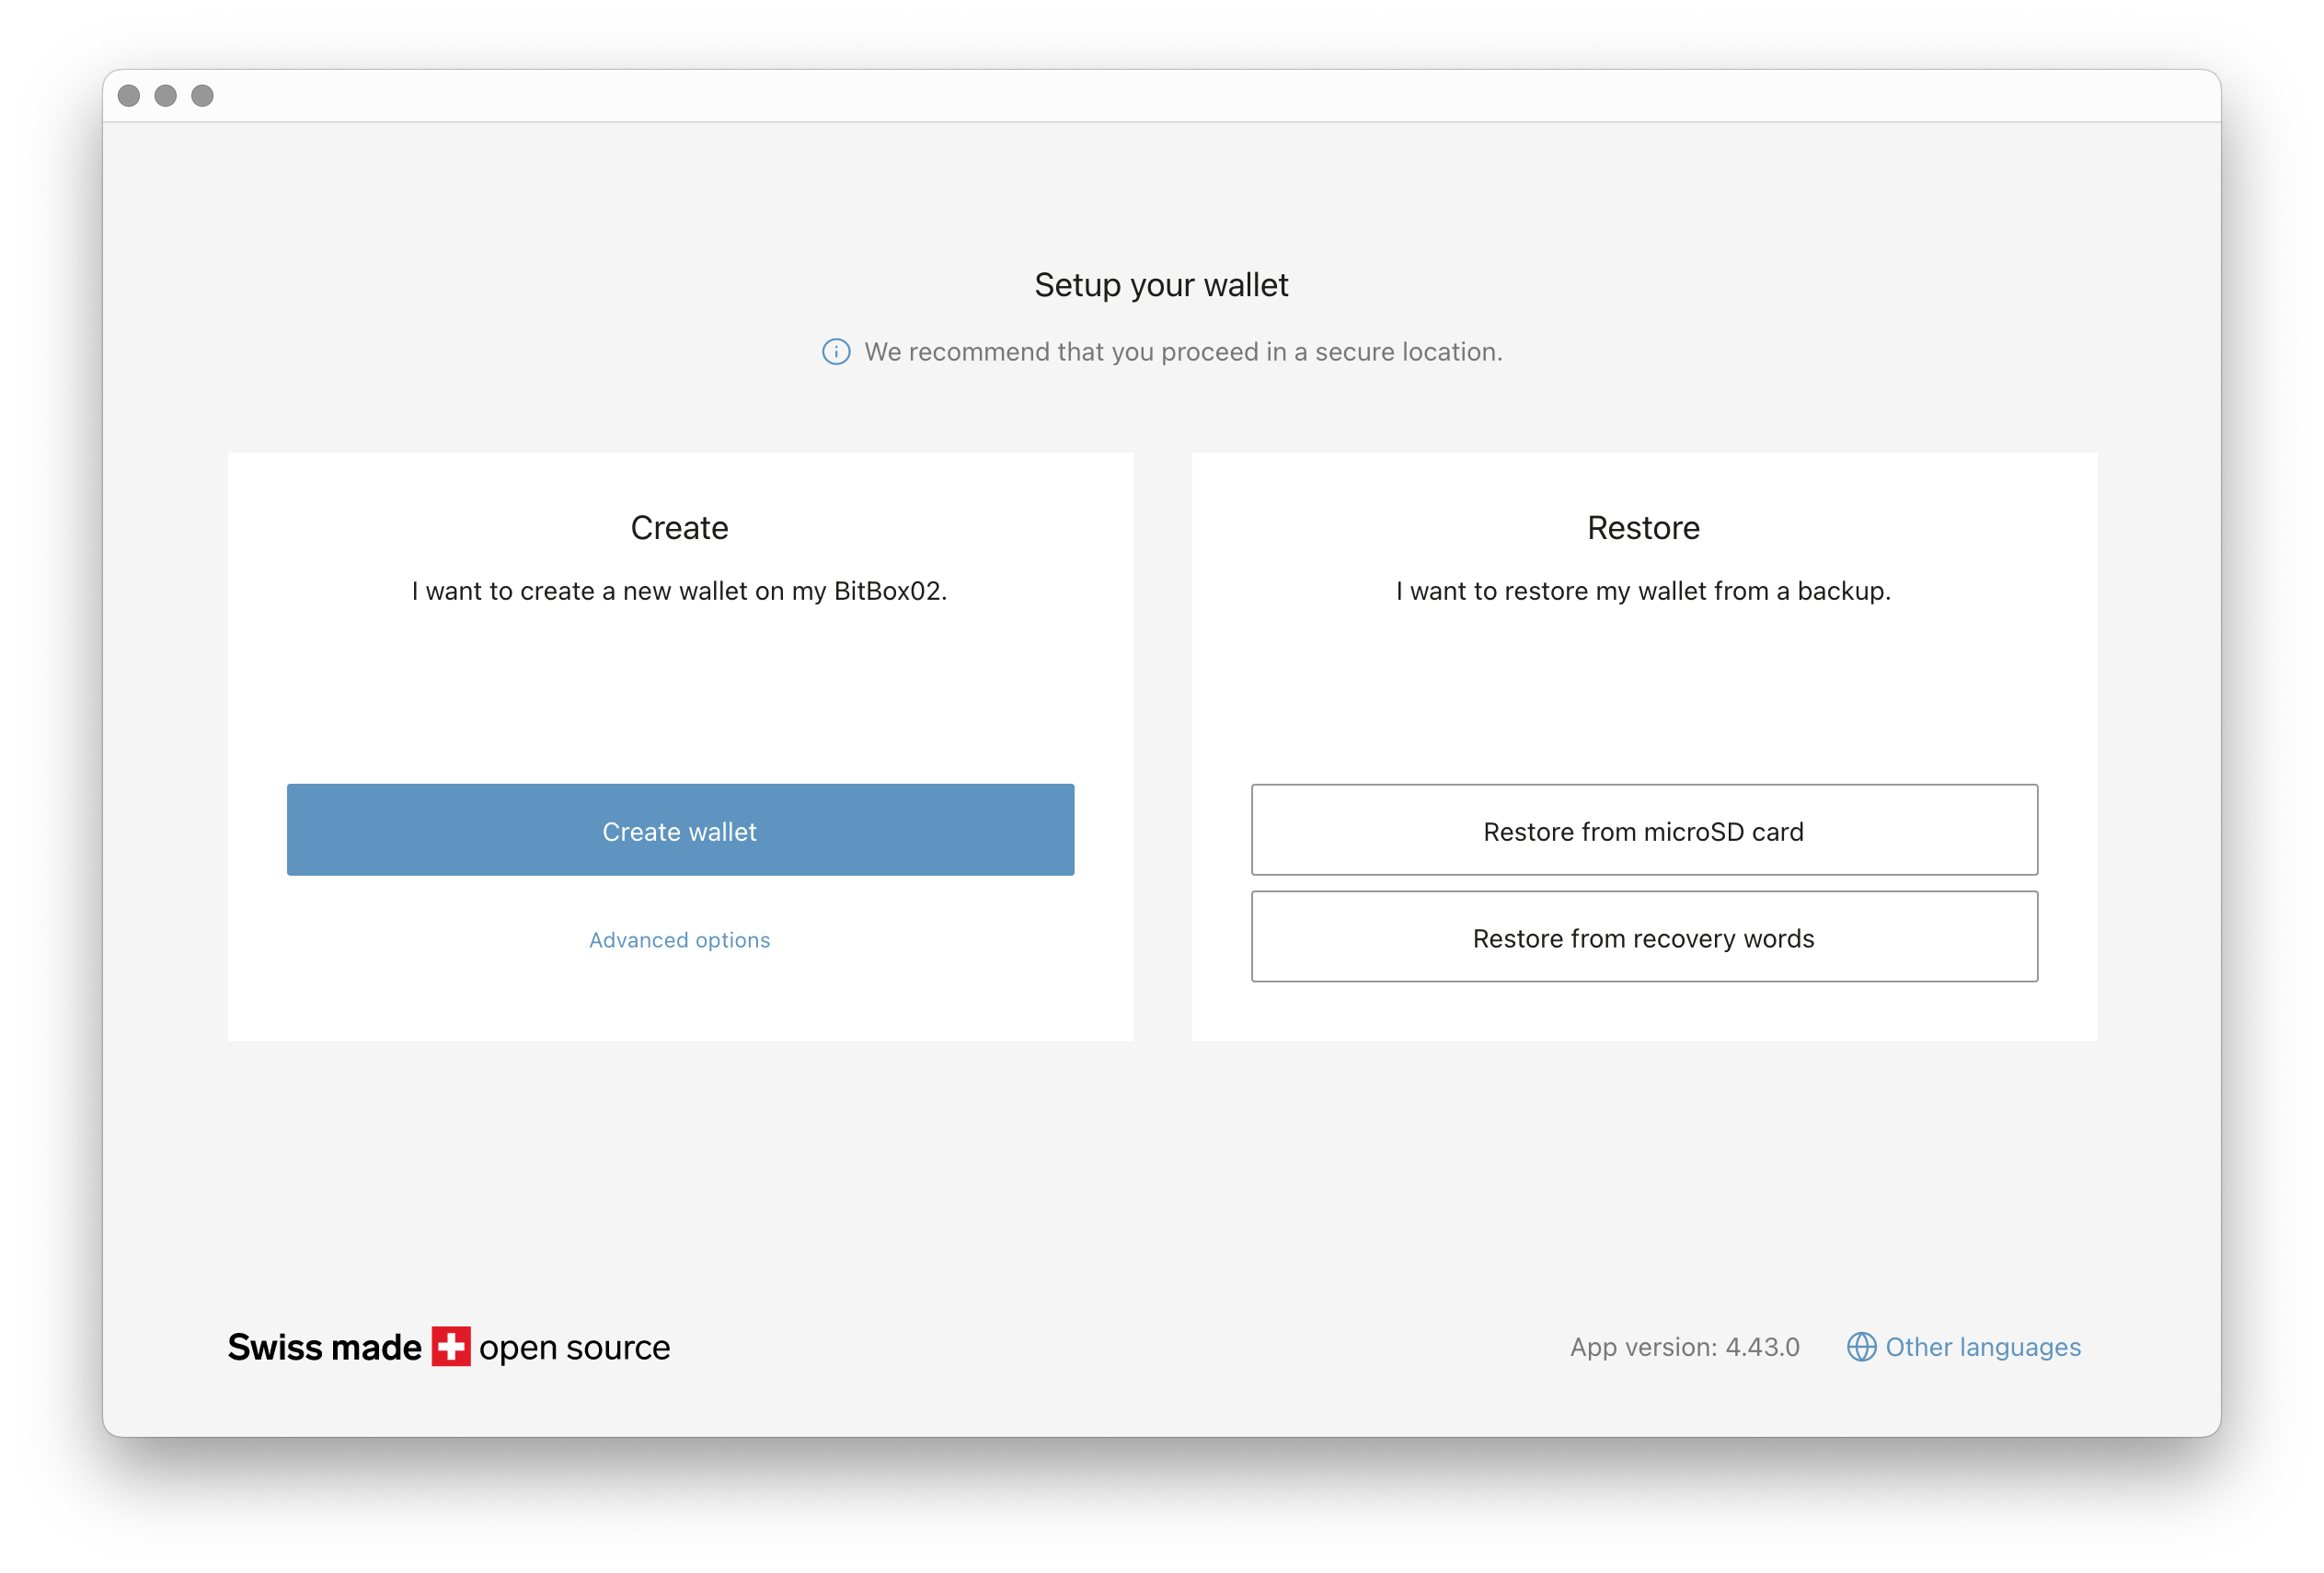
Create or restore a wallet: You will see two main options:
-
Create wallet and Restore from backup.
- For a new setup, choose Create wallet.
- If you are recovering a wallet from a previous backup, choose a restore option.
-
Create wallet and Restore from backup.

At this step, you can also access advanced features. For most users, we recommend sticking with the standard options. However, if you want to create a 12-word recovery phrase (instead of 24) or skip the microSD backup to write down your words manually, please see our guide on Advanced backup options.
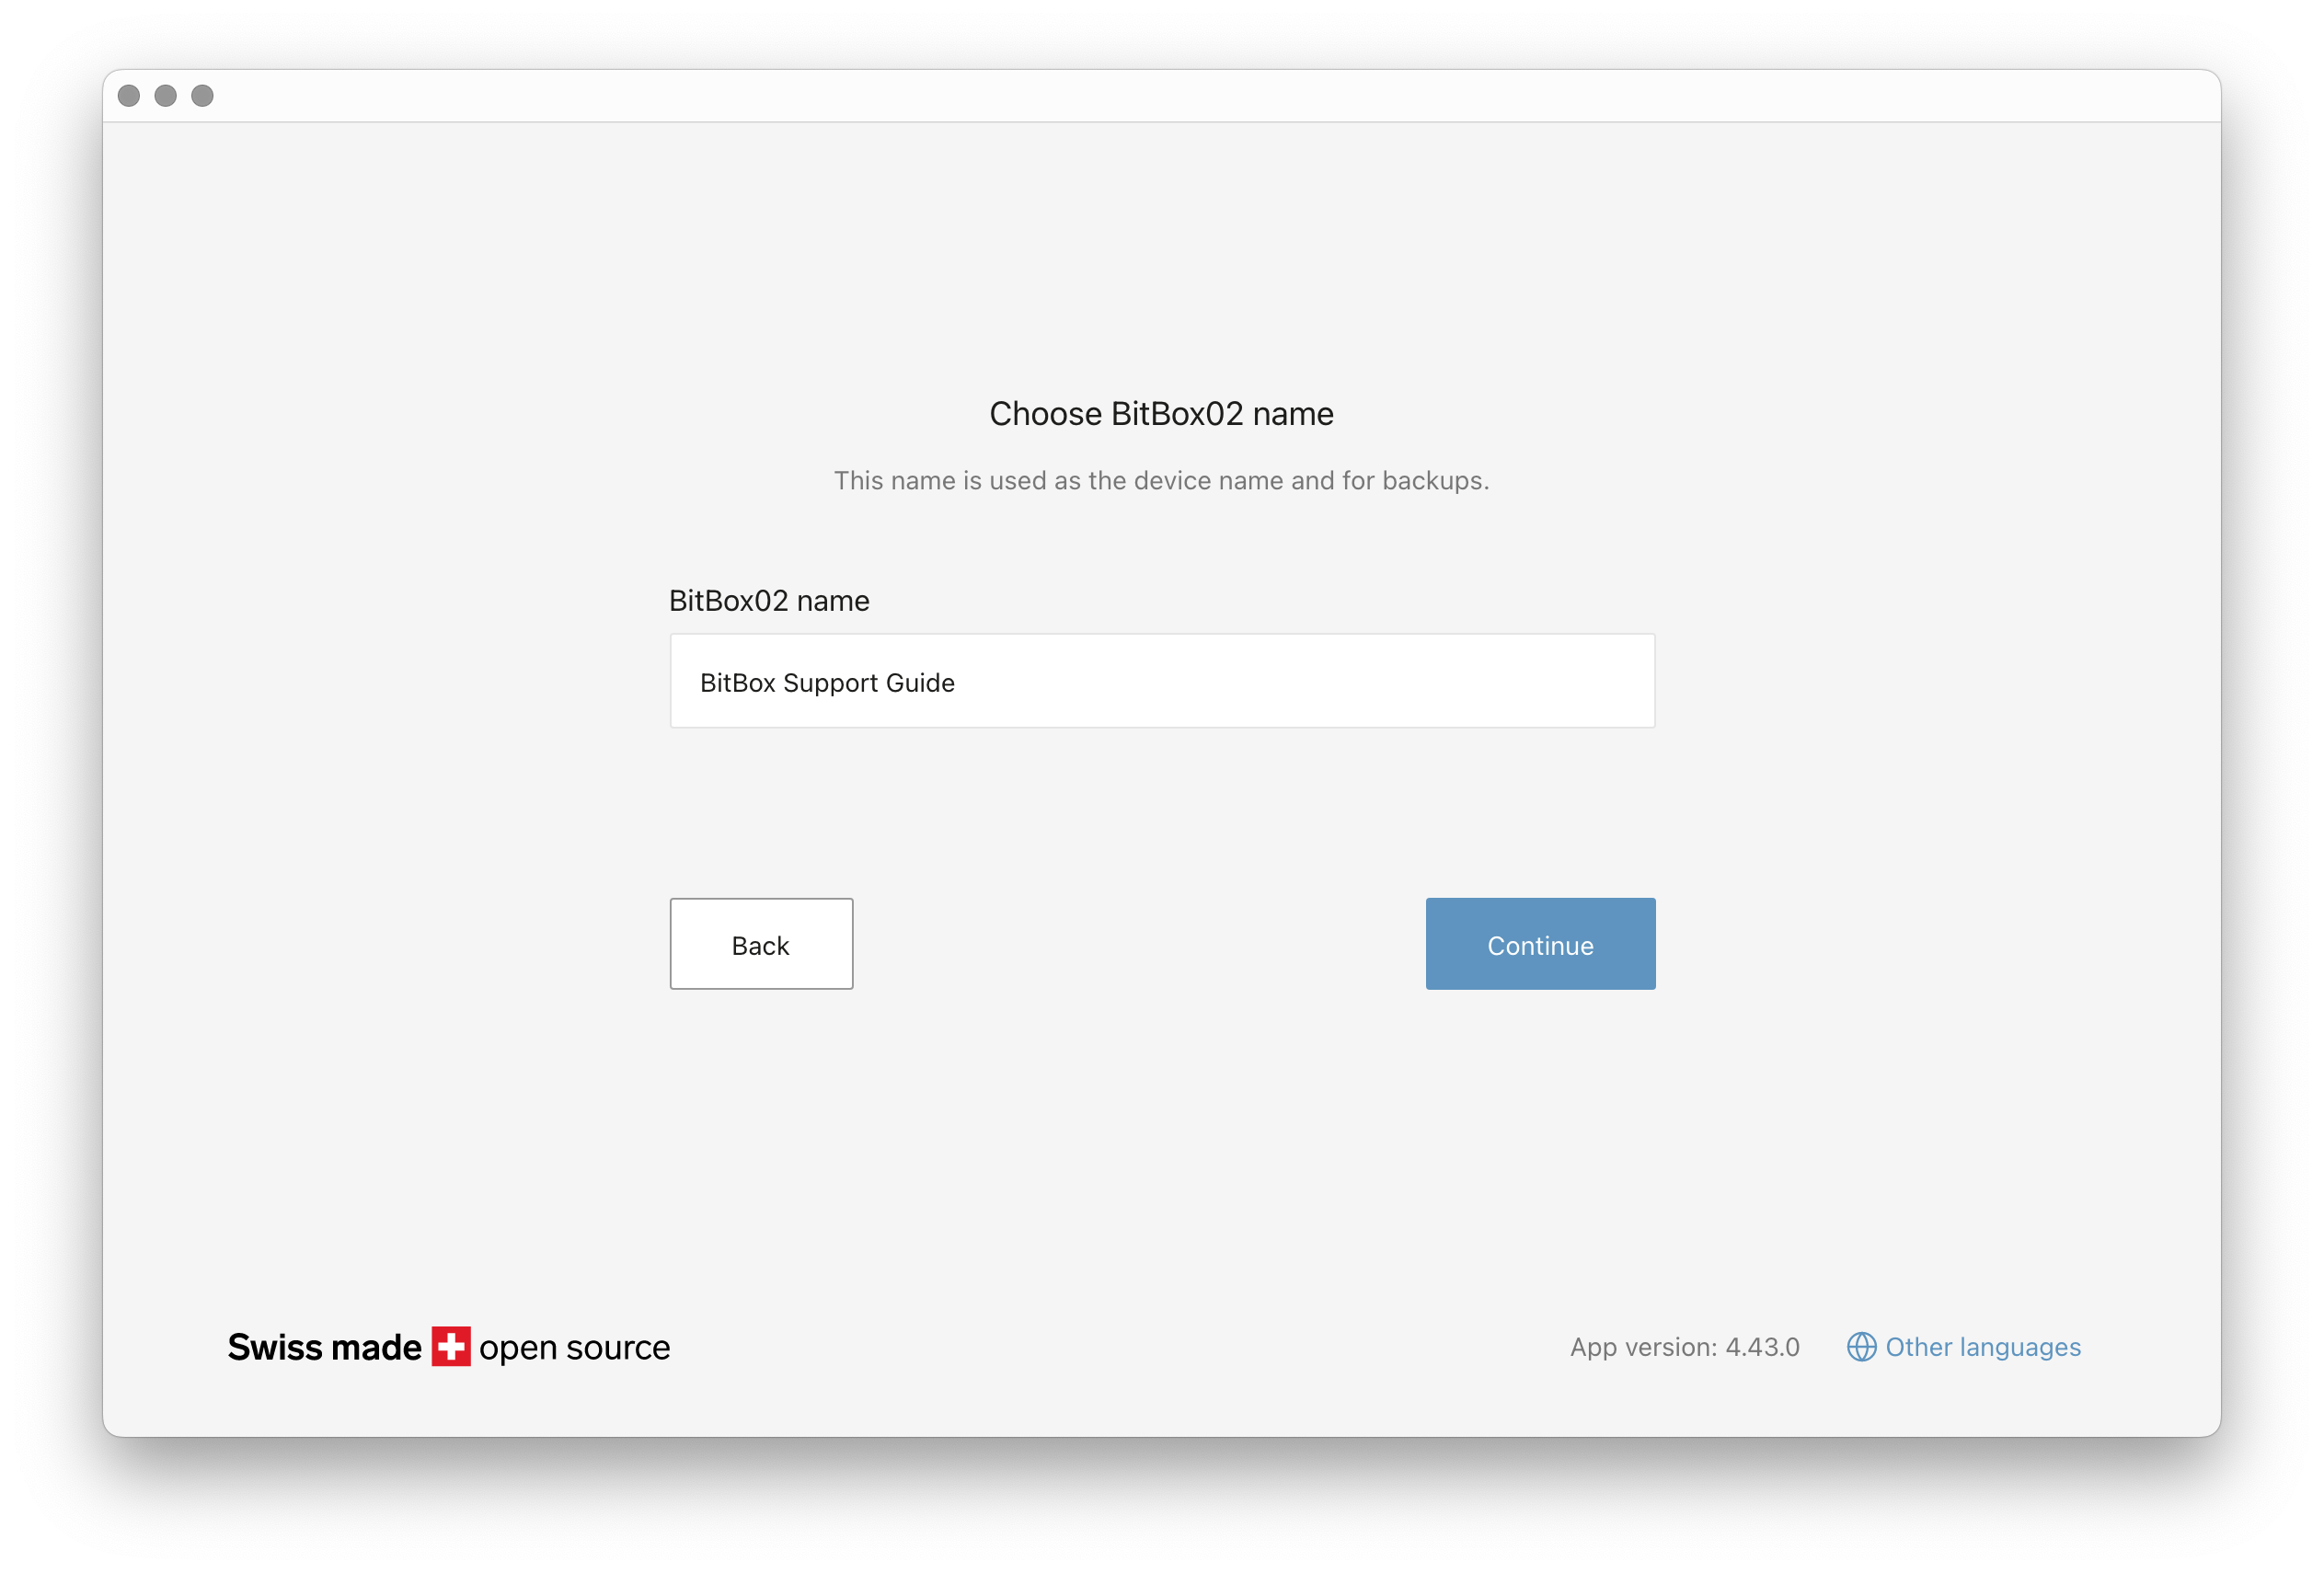
- Name your device: Choose a name for your BitBox02. This name is used to identify the device and its backups, so pick something you will easily recognize.

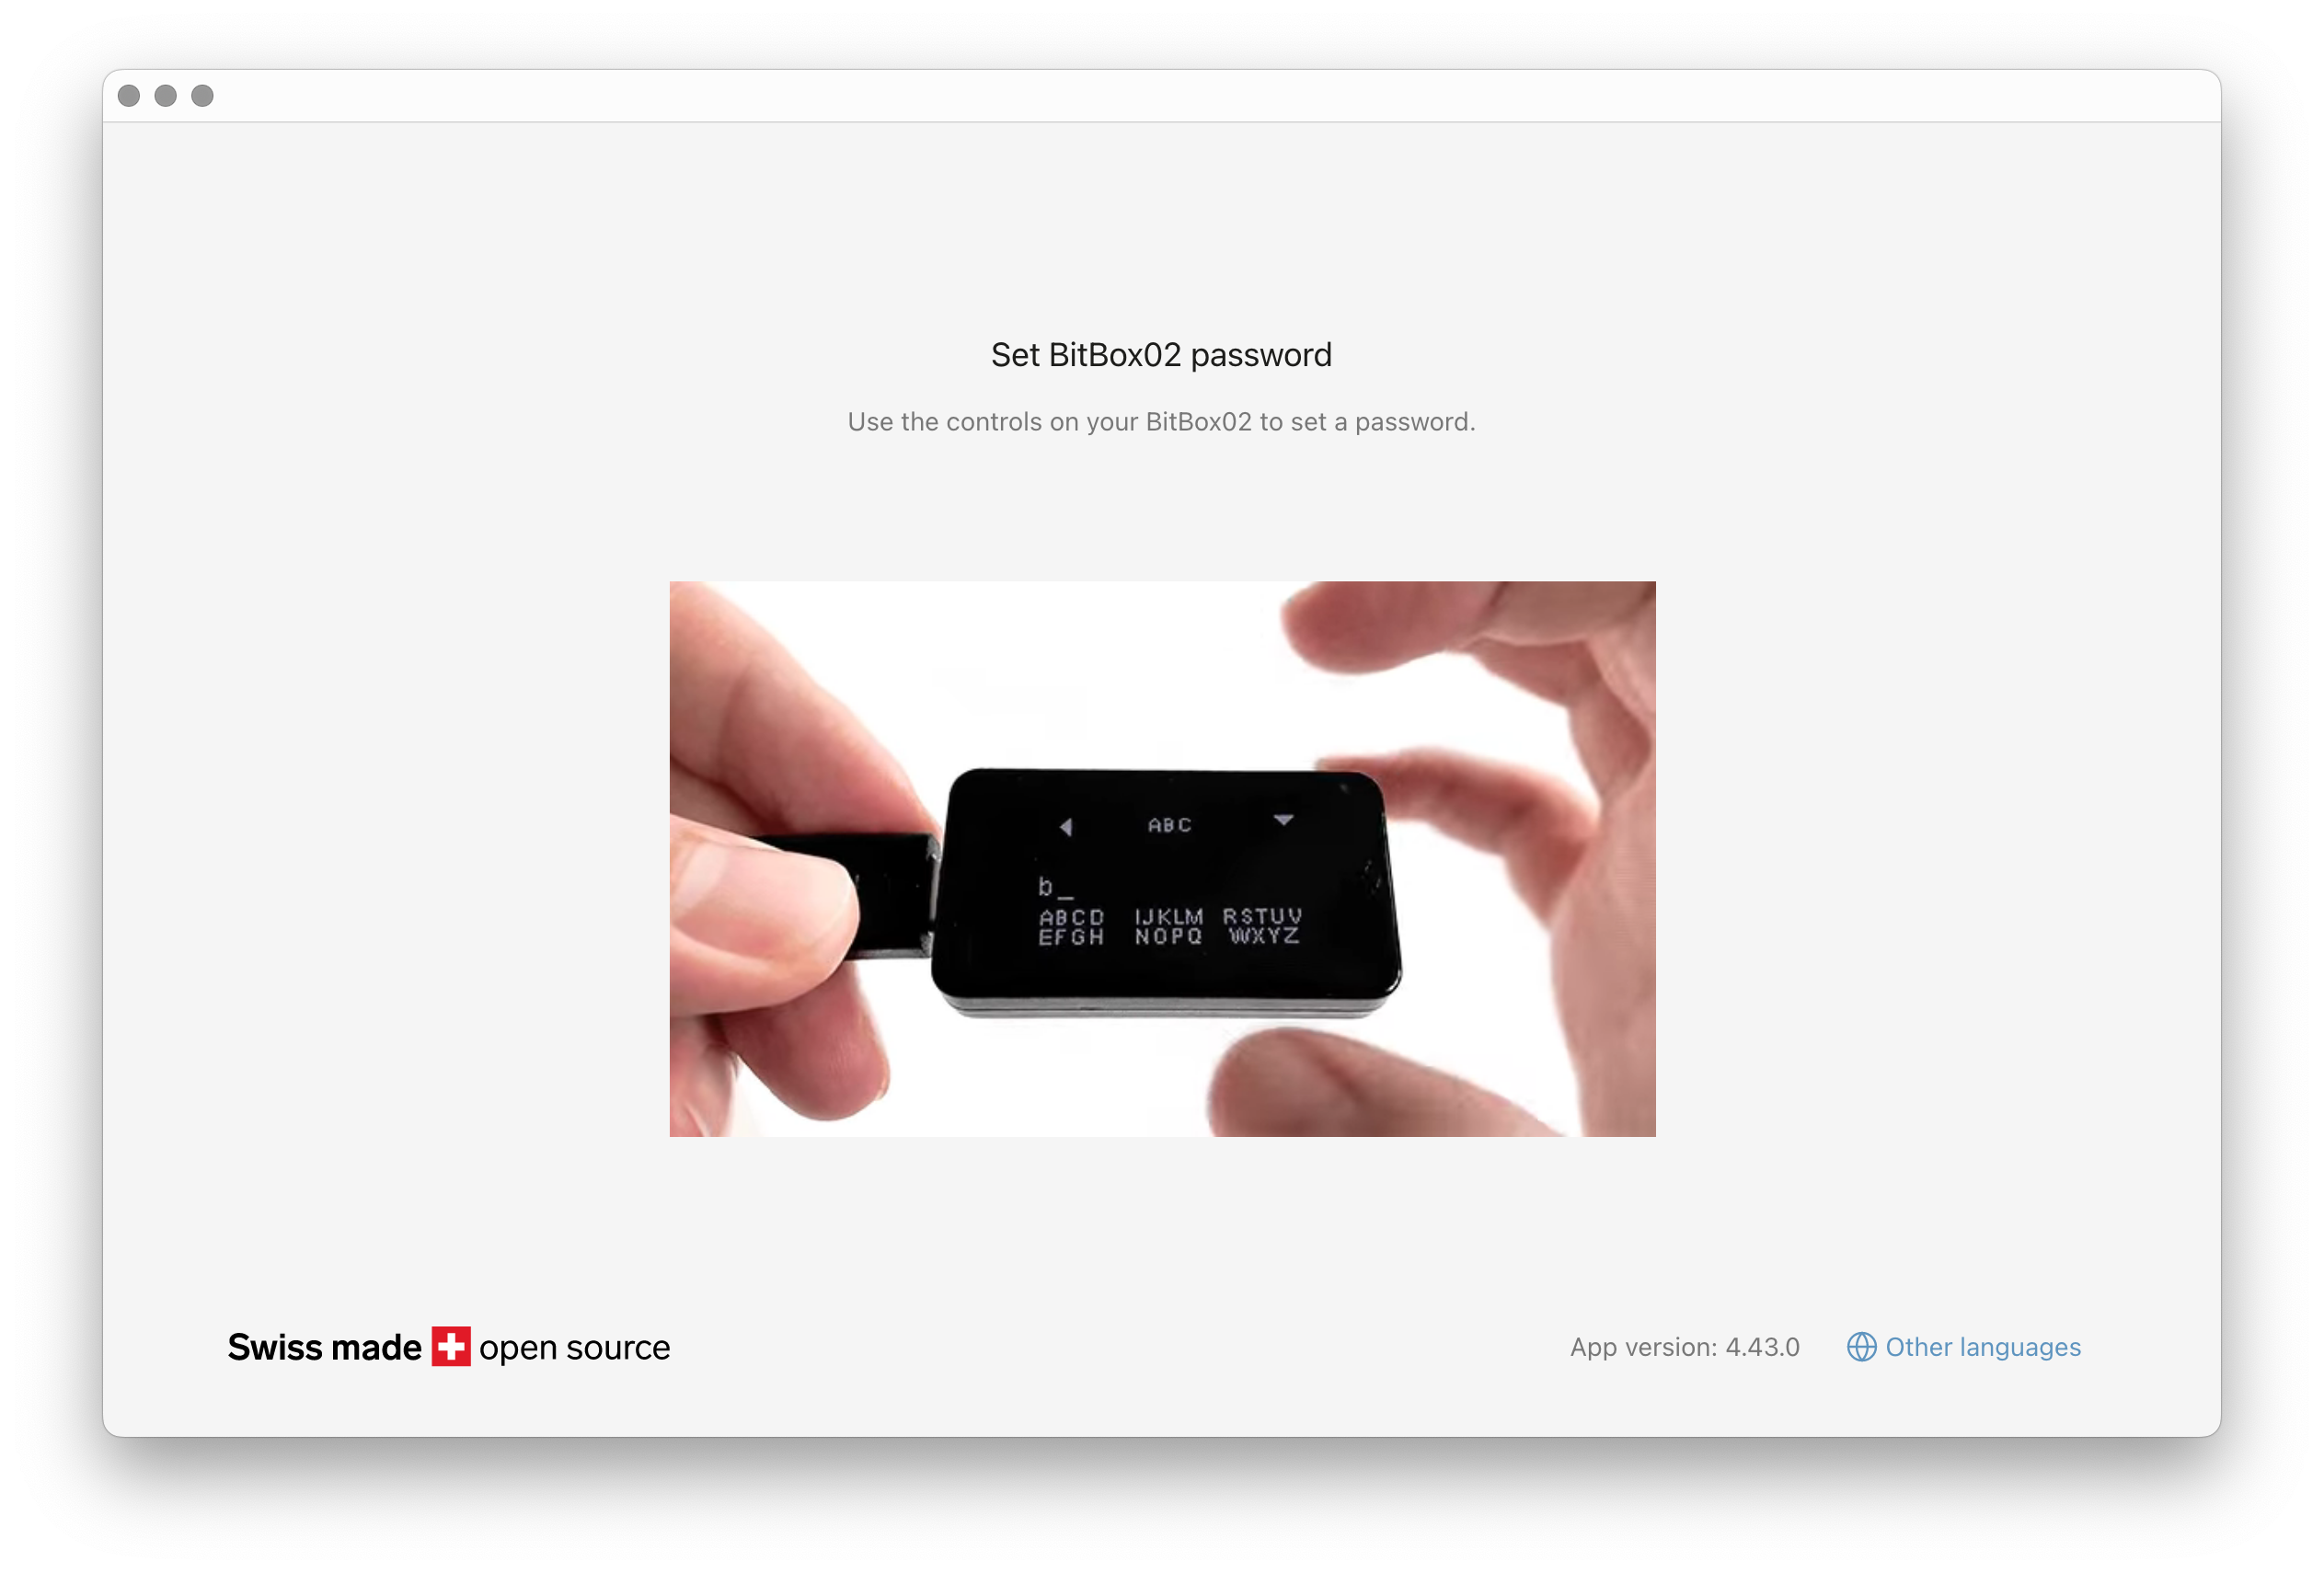
- Set your device password: Enter a password using the device's touch sensors.
Important: This password cannot be changed. To set a new one, you must reset the device, which requires restoring your funds from your backup.

- Create your wallet backup: The app will save a backup to the microSD card. Confirm the date on your device to proceed.
Step 4: Secure your backup
Once the setup is complete, immediately eject the microSD card from your BitBox02.
- Store this card in a safe and secret location.
- Crucially, keep the backup card separate from your BitBox02 device.
The backup file on the microSD card is not password-protected by default. This design makes recovery easier, but it means anyone with physical access to the card could potentially access your funds. You can read more about this in our blog post: Why microSD backups should not be encrypted by default
You're all set!
Your BitBox02 is now ready to send and receive cryptocurrency securely.
Video guide
We’ve also created a video tutorial for additional clarification. Please note that some visuals may differ from the current app due to updates, but the overall steps remain the same.