With WalletConnect integrated directly into the BitBoxApp, you can now securely explore the vibrant world of Decentralized Applications (DApps) using your BitBox02 hardware wallet. This feature opens up possibilities like DeFi, NFTs, and much more, all while upholding the security principles you trust.
What is WalletConnect?
WalletConnect is an open-source protocol that facilitates secure connections between cryptocurrency wallets and DApps. It's a widely used open protocol designed specifically for this purpose.
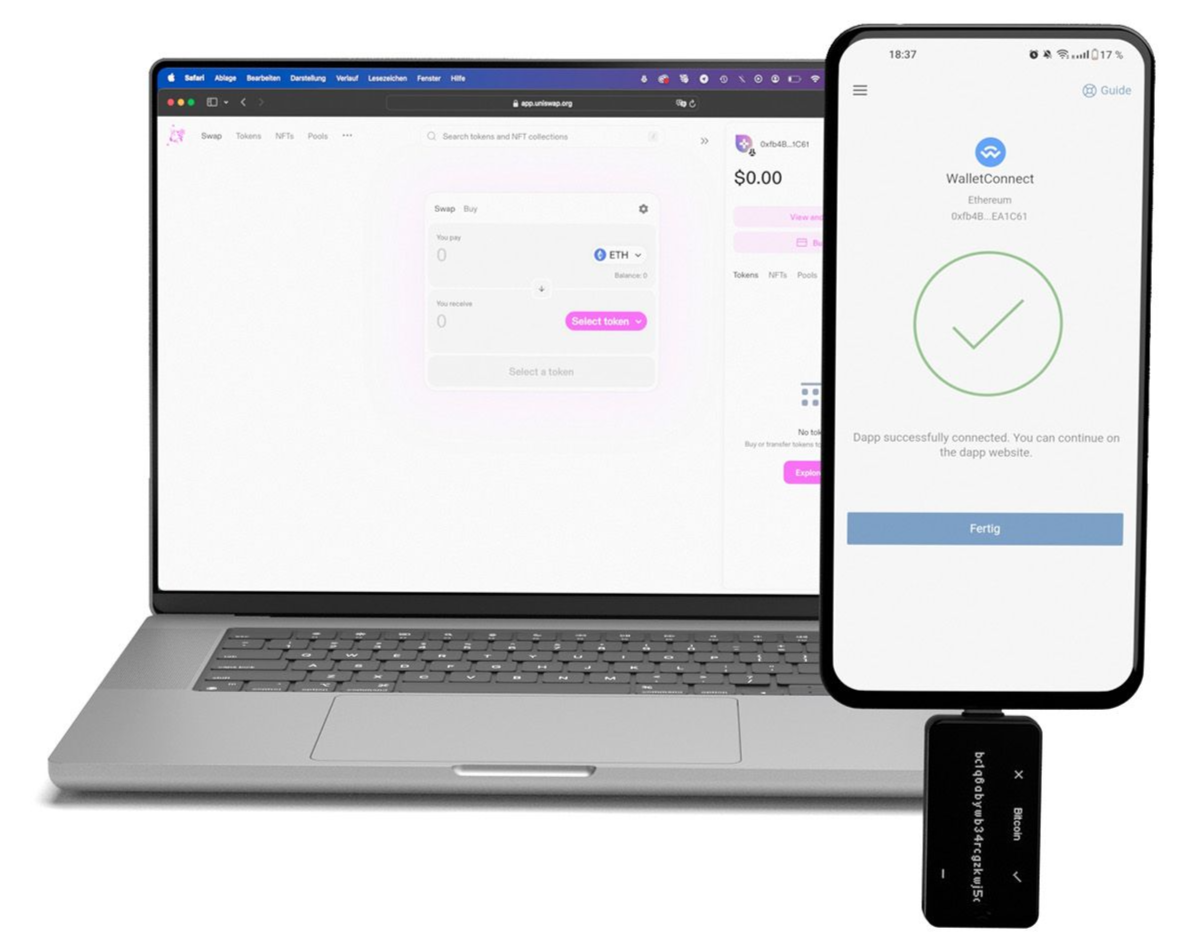
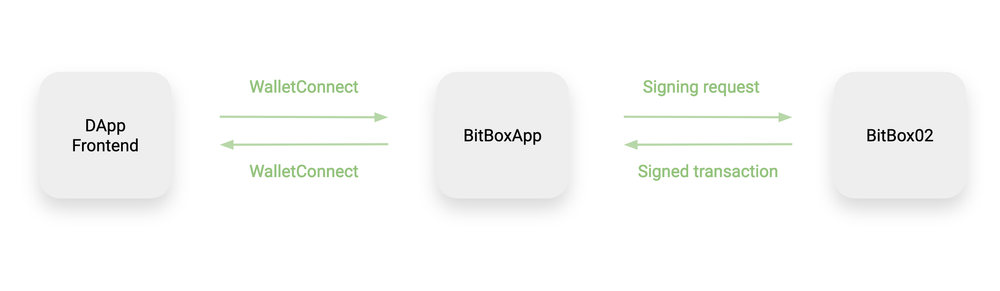
Here's the magic: when a DApp needs your approval for an action, like sending a transaction or signing a message, WalletConnect securely forwards that request to your BitBoxApp. Crucially, your private keys – the secret codes that control your crypto – never leave your BitBox02 hardware wallet.
Prerequisites
Before you begin, ensure you have the following:
- A BitBox02 Multi Edition hardware wallet.
- The latest version of the BitBoxApp installed on your desktop or Android device.
- An active Ethereum account within the BitBoxApp.
- Access to a compatible DApp (e.g., Uniswap) via a web browser.
Note: Currently, WalletConnect in the BitBoxApp supports only the Ethereum mainnet. For other EVM-compatible networks like Polygon, Arbitrum, or BSC, please use the Rabby browser extension.
Step-by-Step guide to connecting with WalletConnect
1. Open the DApp
- Open your chosen DApp (like Uniswap) in your preferred web browser.
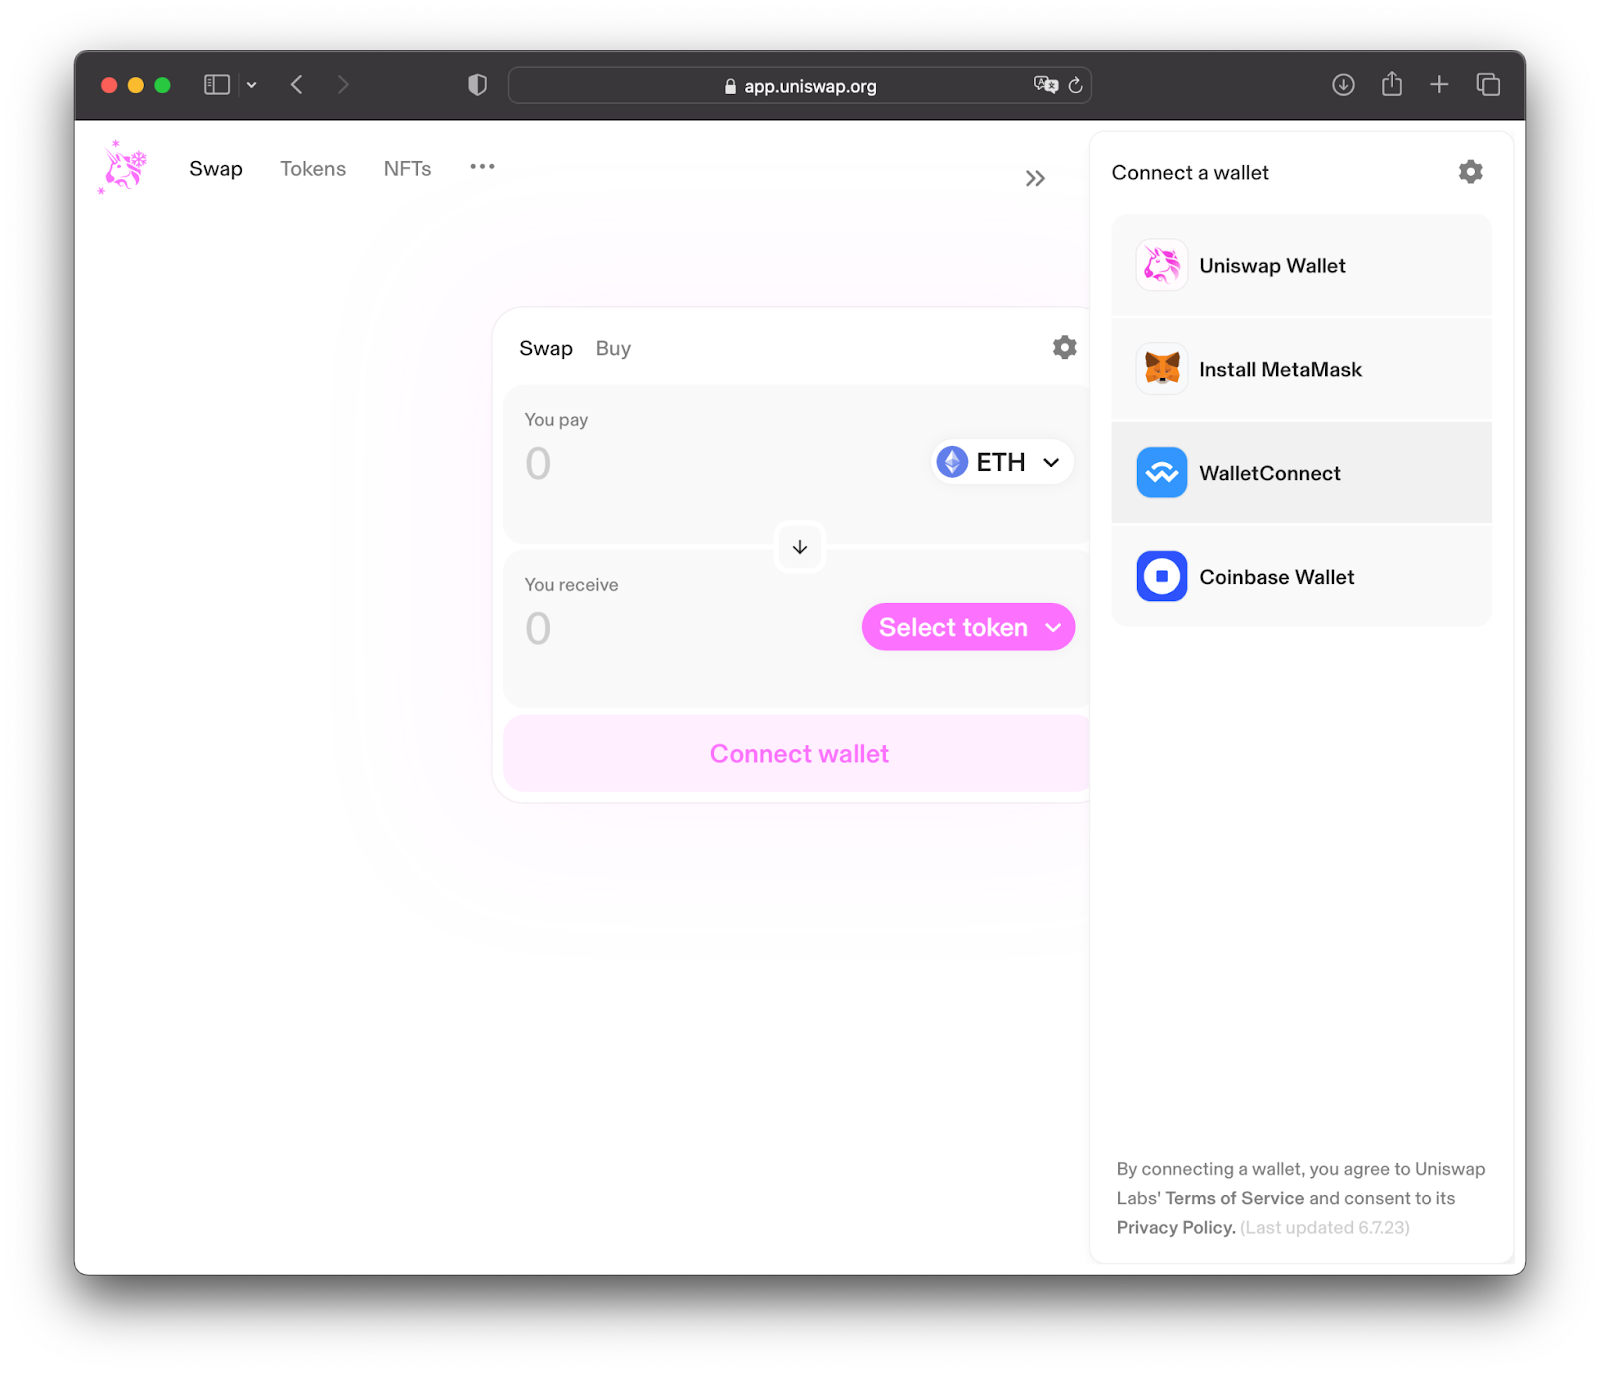
- Click on the “Connect wallet”
2. Select WalletConnect
- You'll likely see several wallet options. It's important to select WalletConnect from this list.
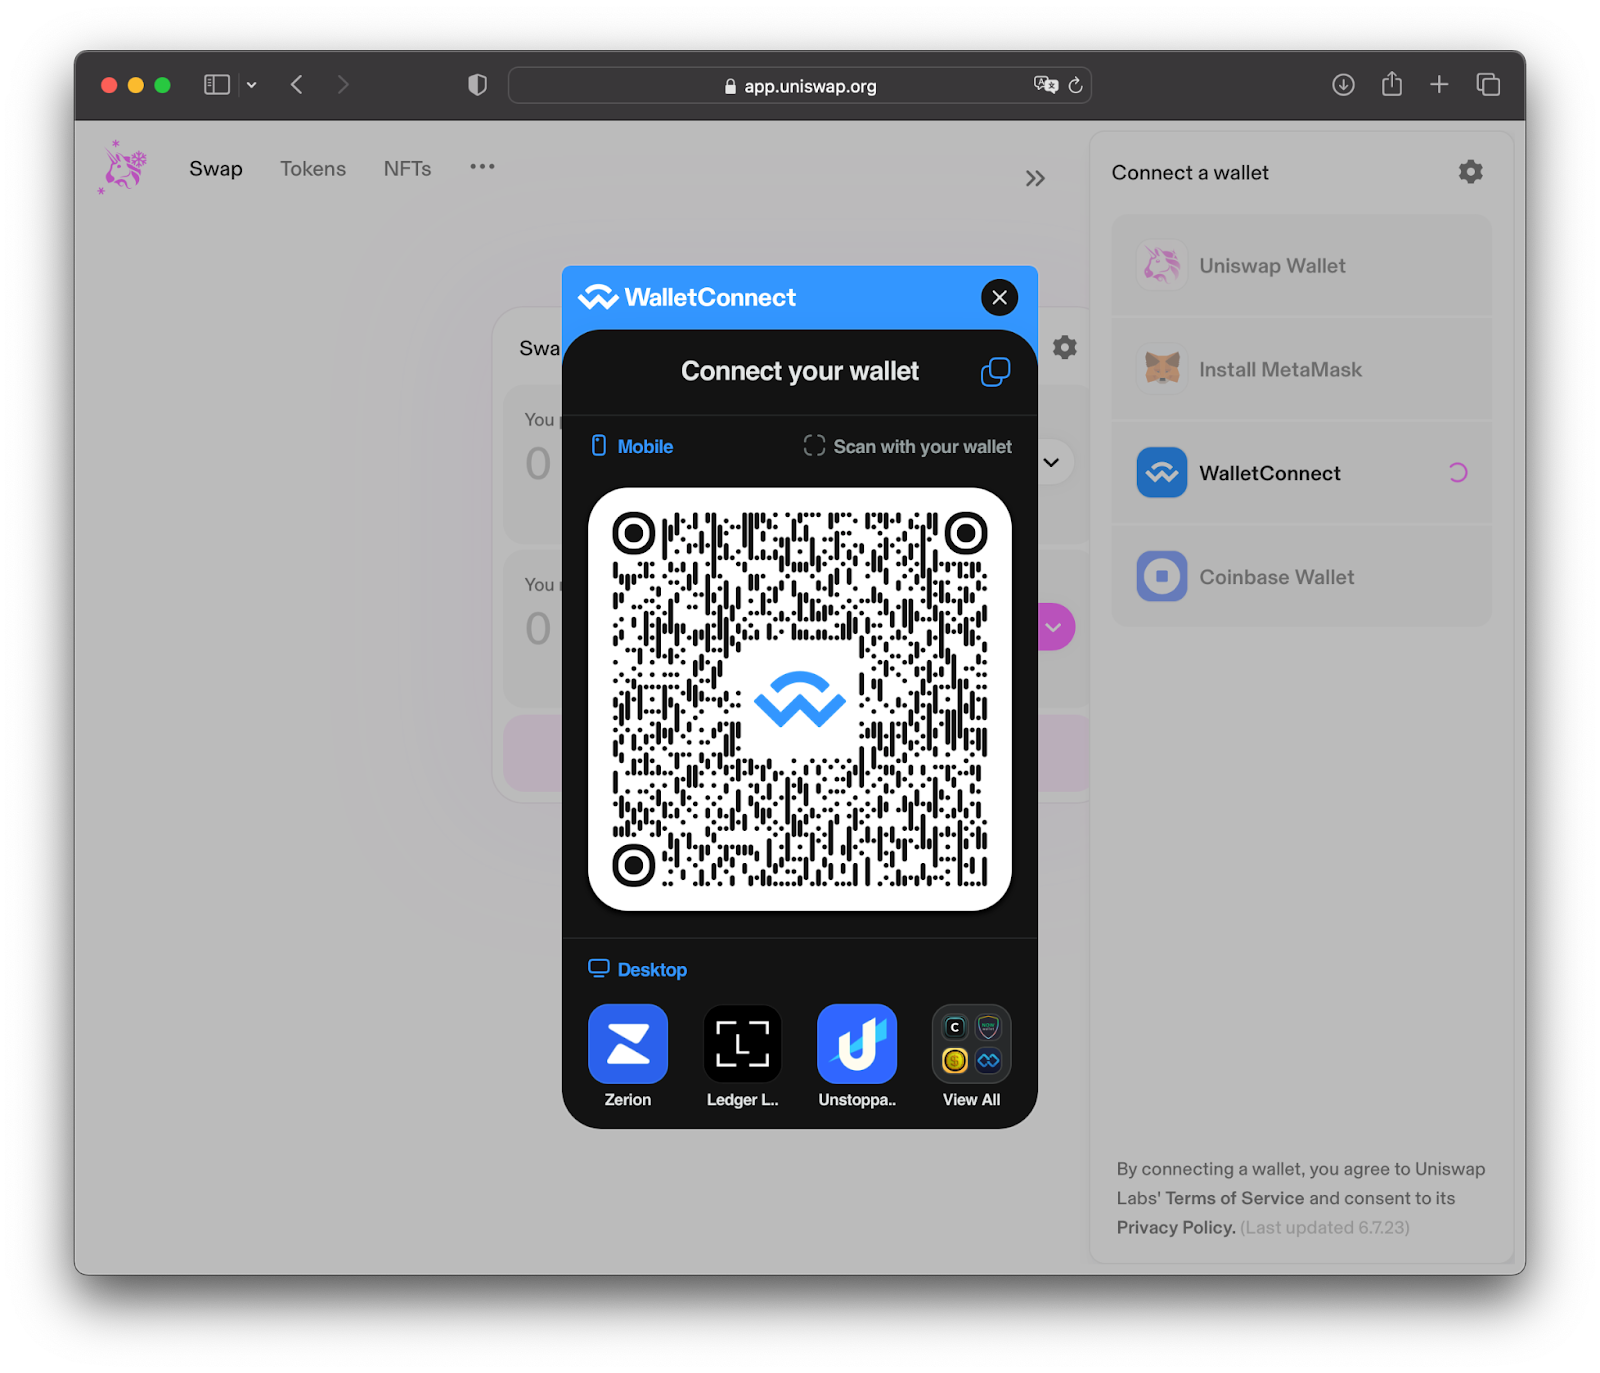
- The DApp will now display a QR code. Usually, it will also provide a copyable connection link or code string nearby.
3. Initiate connection in BitBoxApp
- Open the BitBoxApp on your desktop or Android device.
- Navigate to your Ethereum account.
- Click on the “WalletConnect” button next to the “Send” and “Receive” buttons.
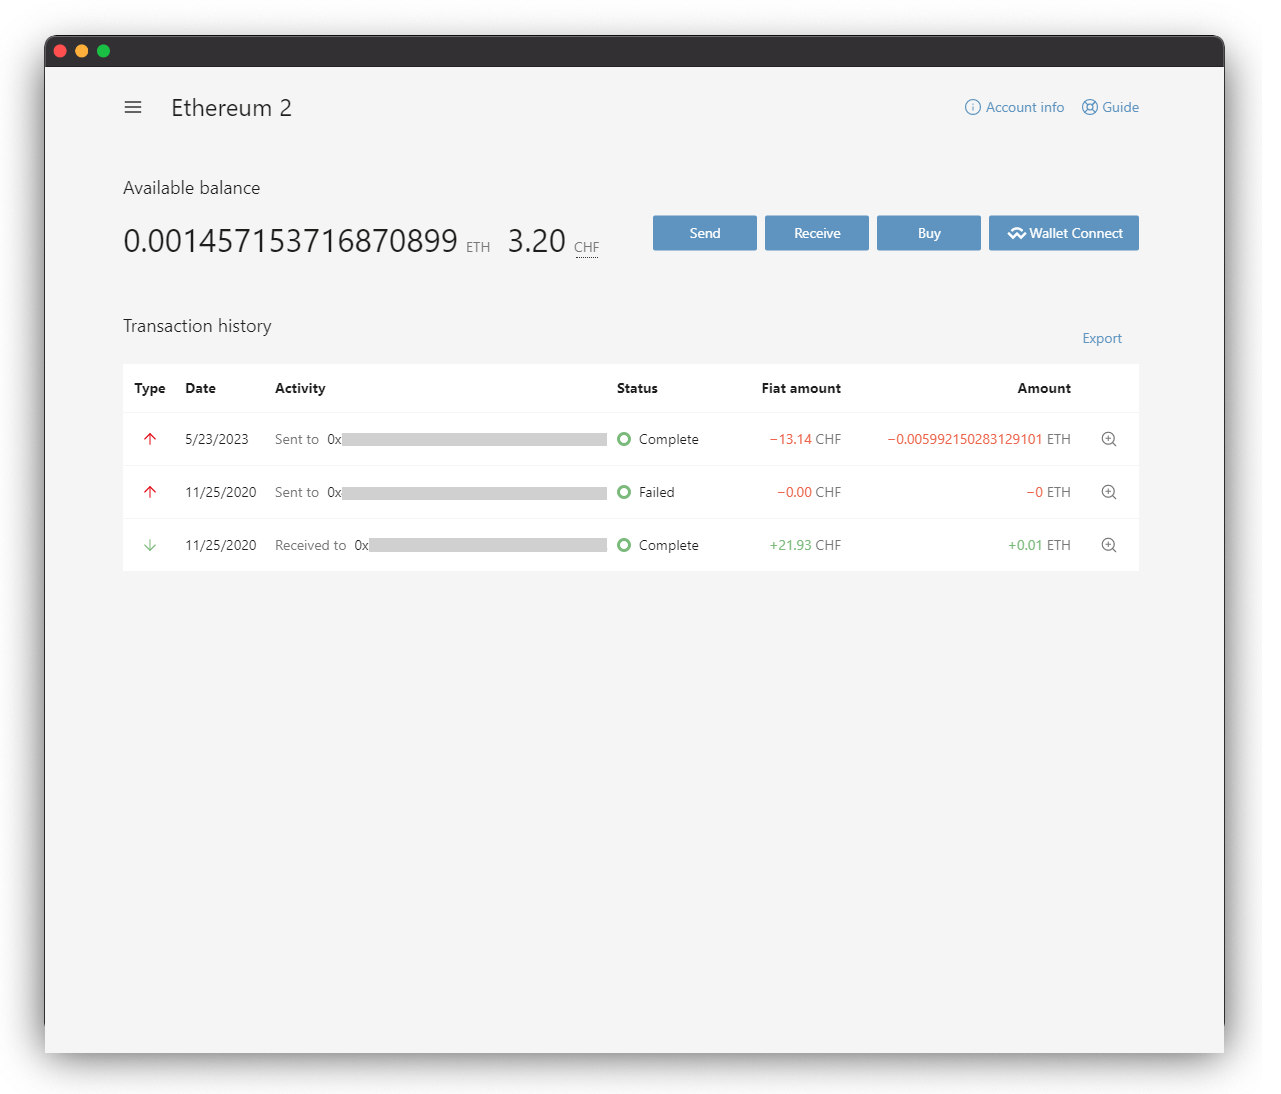
- Choose “New Connection.”
4. Link the DApp and BitBoxApp
- Now, bridge the gap between the DApp and your BitBoxApp:
- Using the BitBoxApp on Android: The easiest way is often to tap the "Scan QR code" option within the BitBoxApp and point your phone's camera directly at the QR code displayed by the DApp in your browser.
-
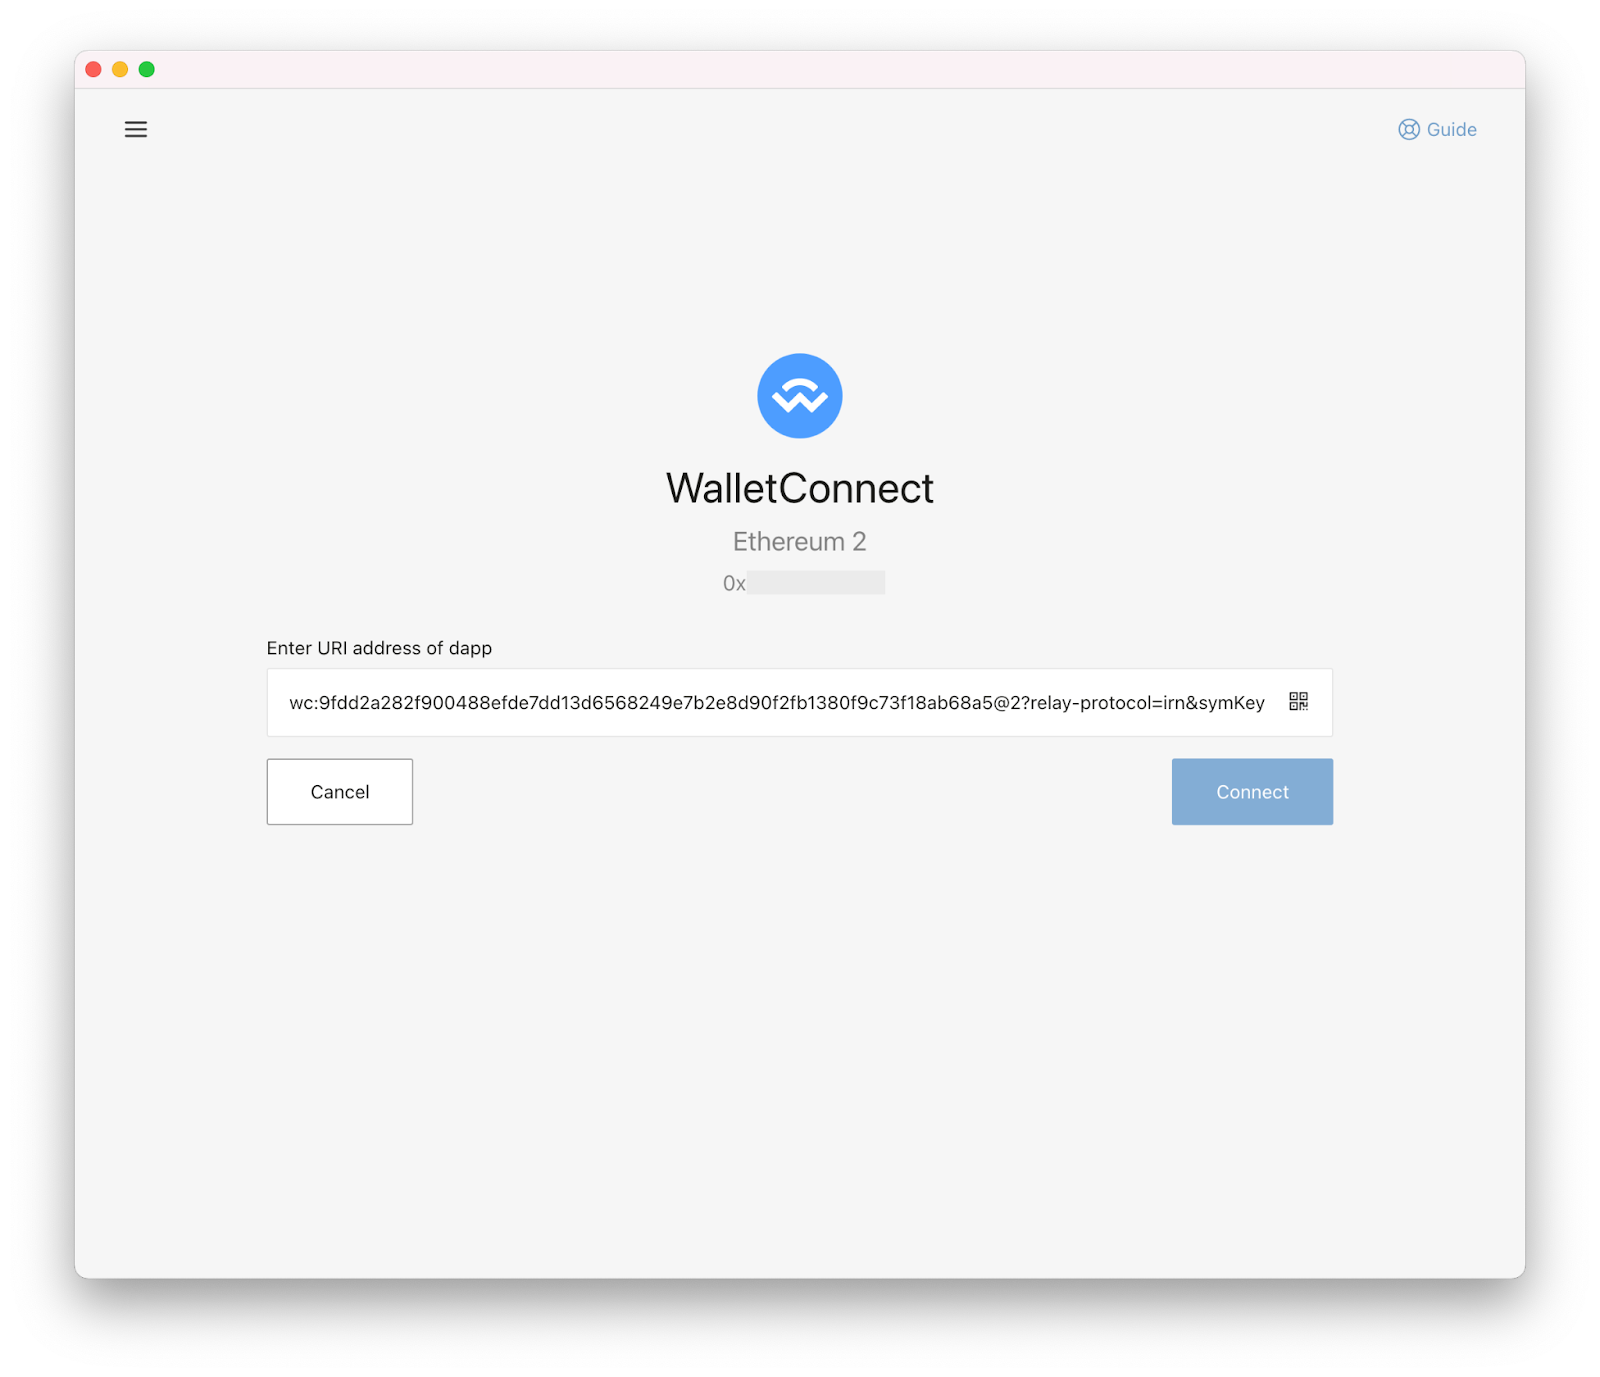
Using the BitBoxApp on Desktop (or preferring the link): Go back to the DApp interface in your browser and click the "copy" icon next to the WalletConnect connection link/code.
- Once the QR code is scanned or the link is pasted, click the "Connect" button (or similar confirmation) within the BitBoxApp.
5. Approve the Connection
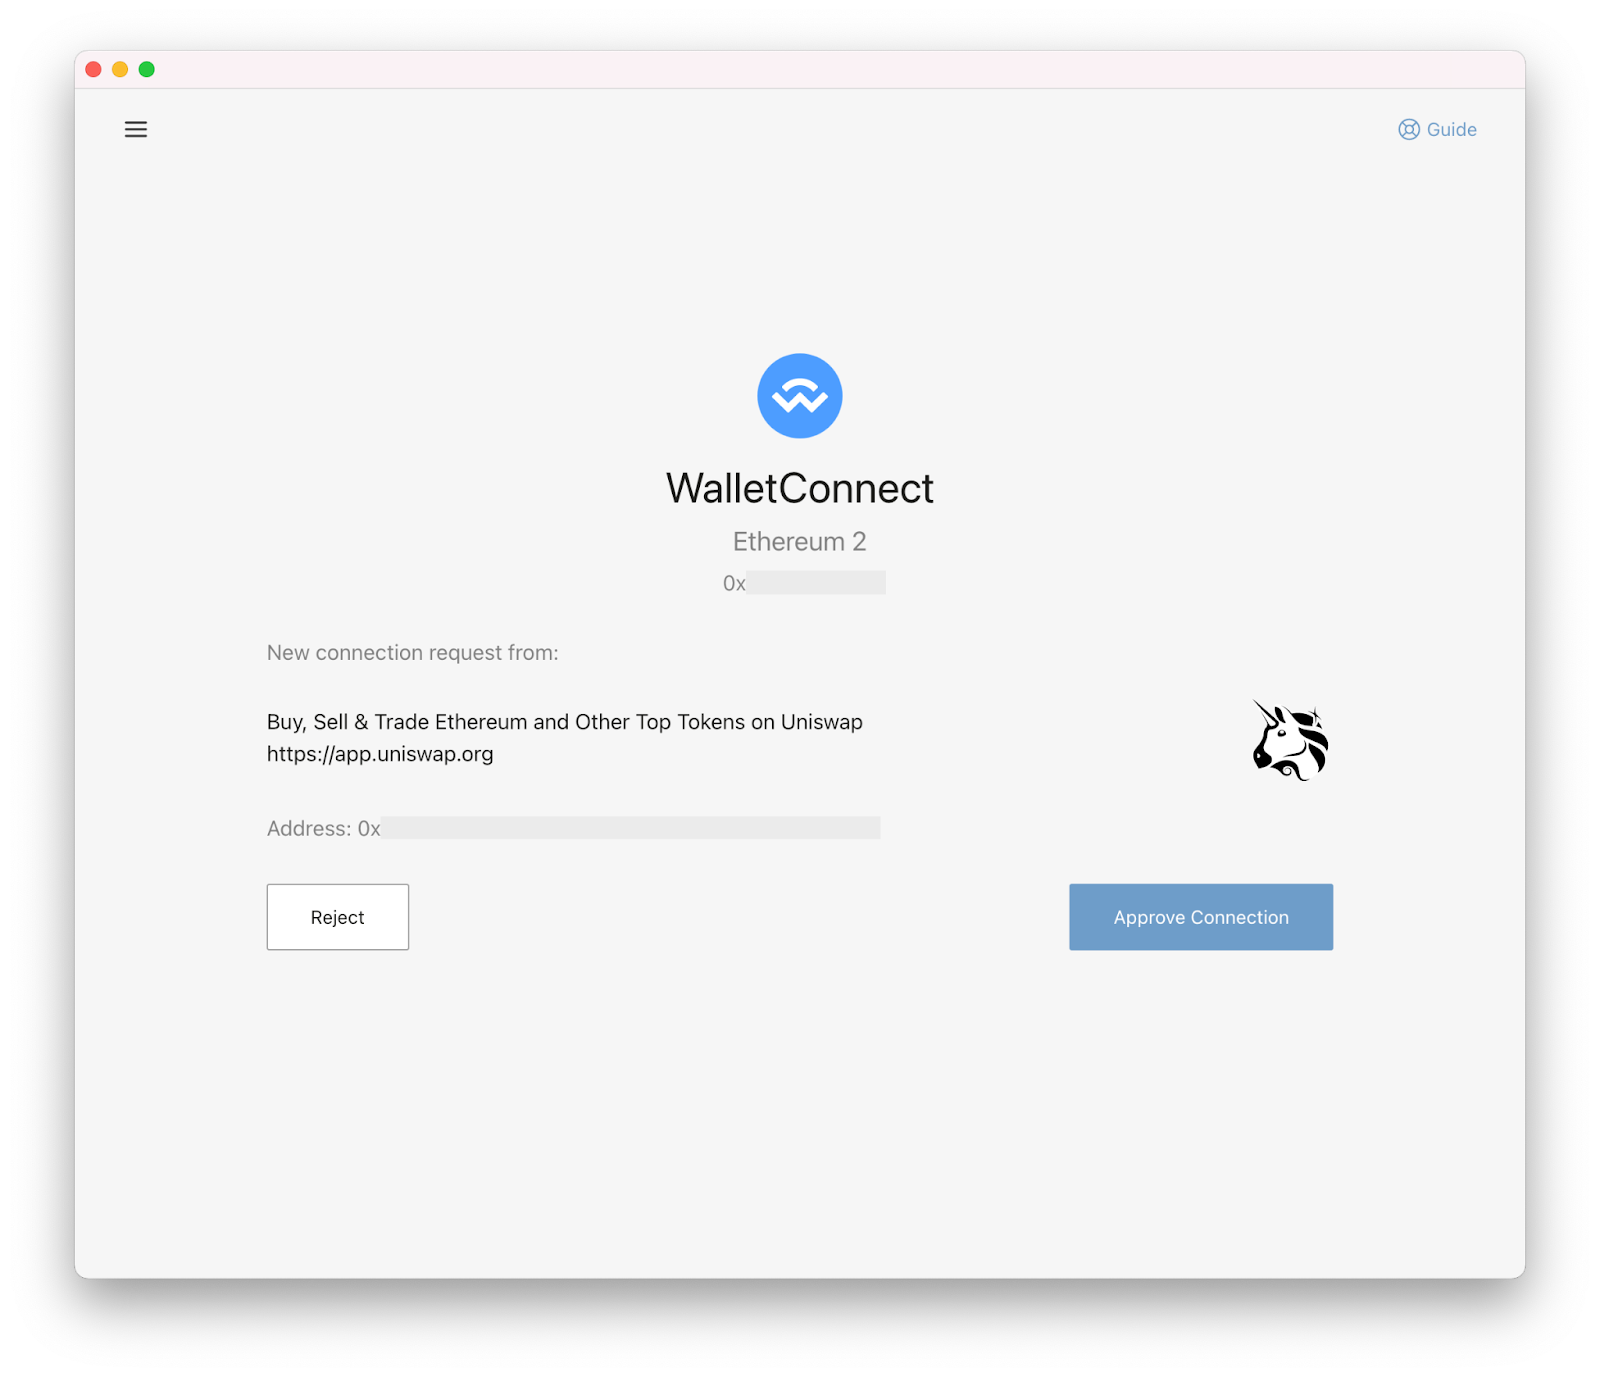
- The BitBoxApp will prompt you to approve the connection.
- Review the details and click “Approve Connection.”
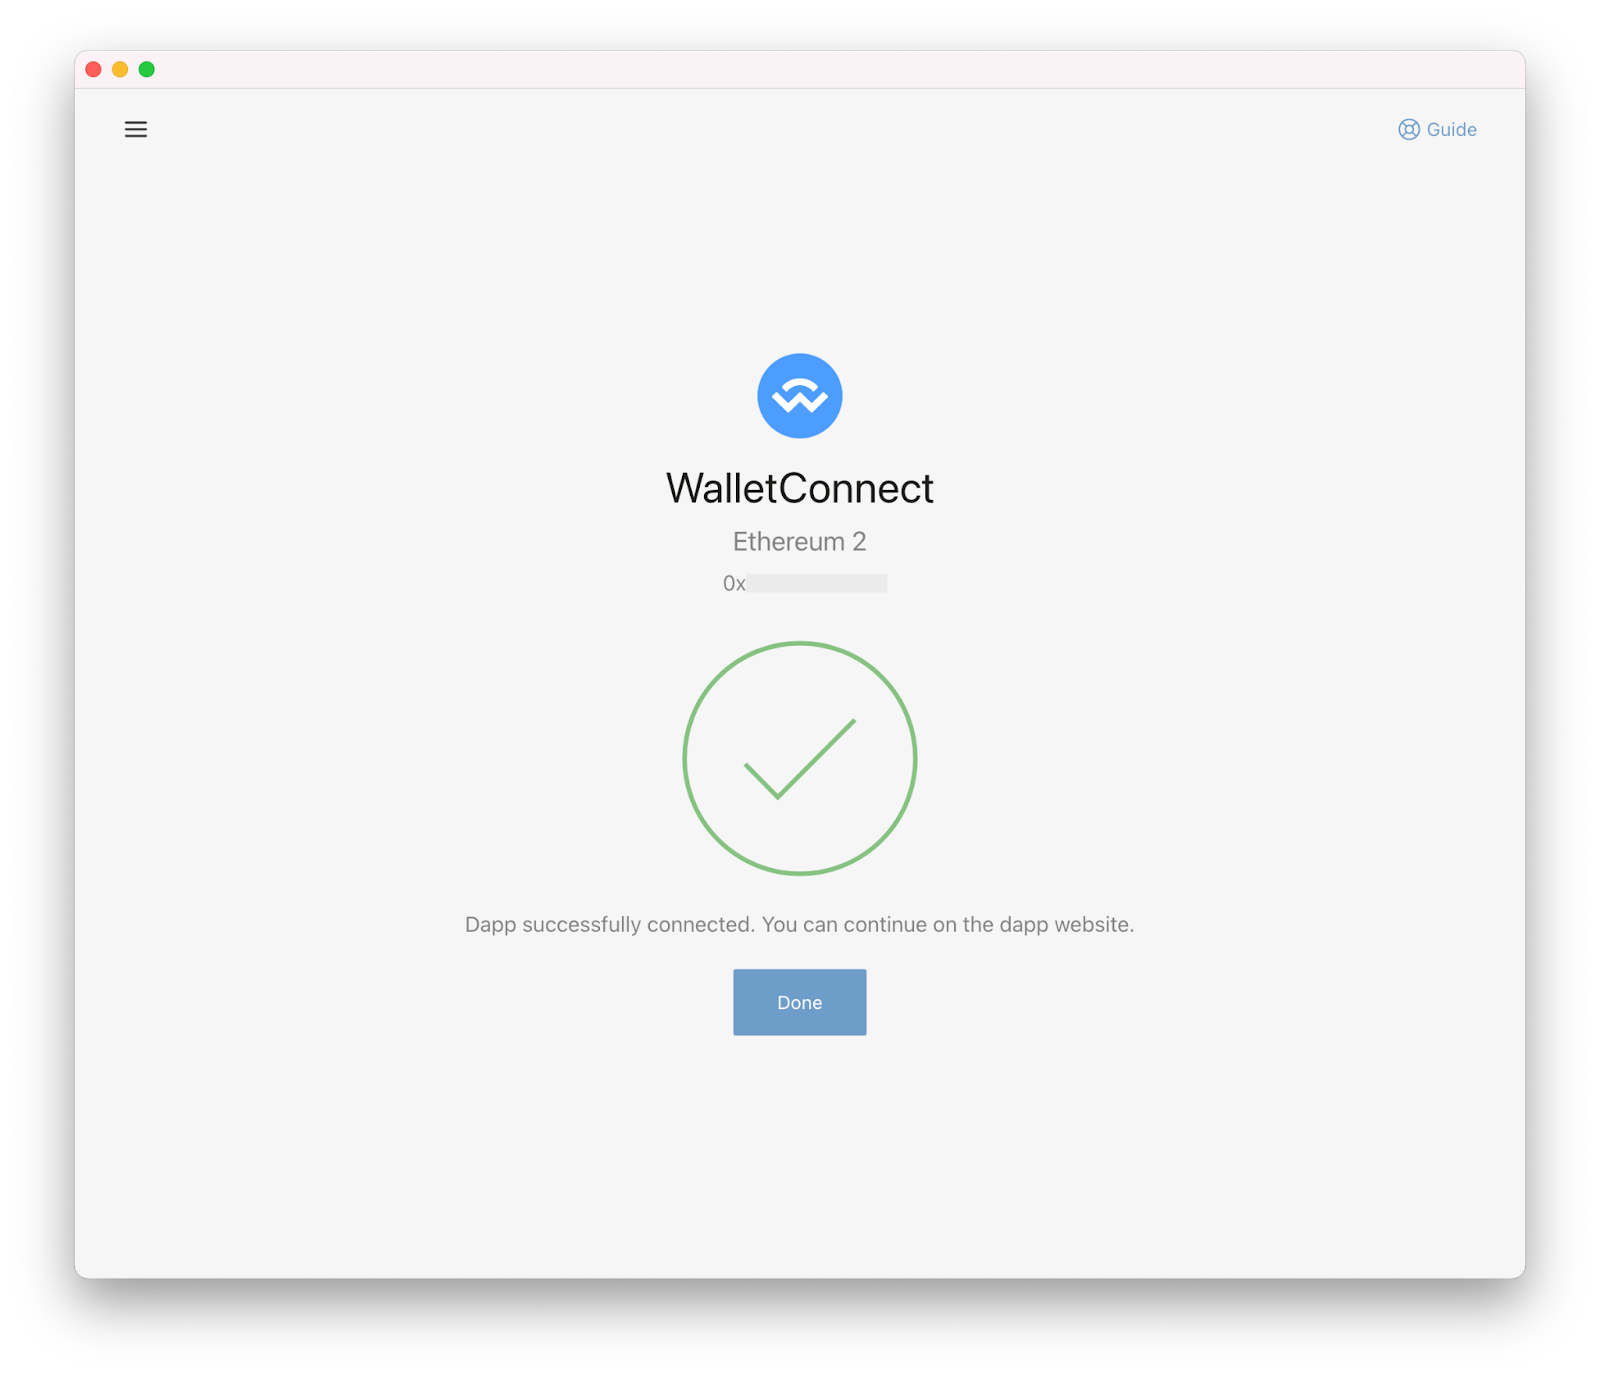
- A confirmation message will indicate a successful connection.
Interacting with the DApp
Now that you're connected, you can start interacting with the DApp. Here’s how approving actions works securely with your BitBox02:
-
Initiating Actions in the DApp: Go ahead and use the DApp's features – perhaps setting up a token swap, interacting with a DeFi protocol, or minting an NFT.
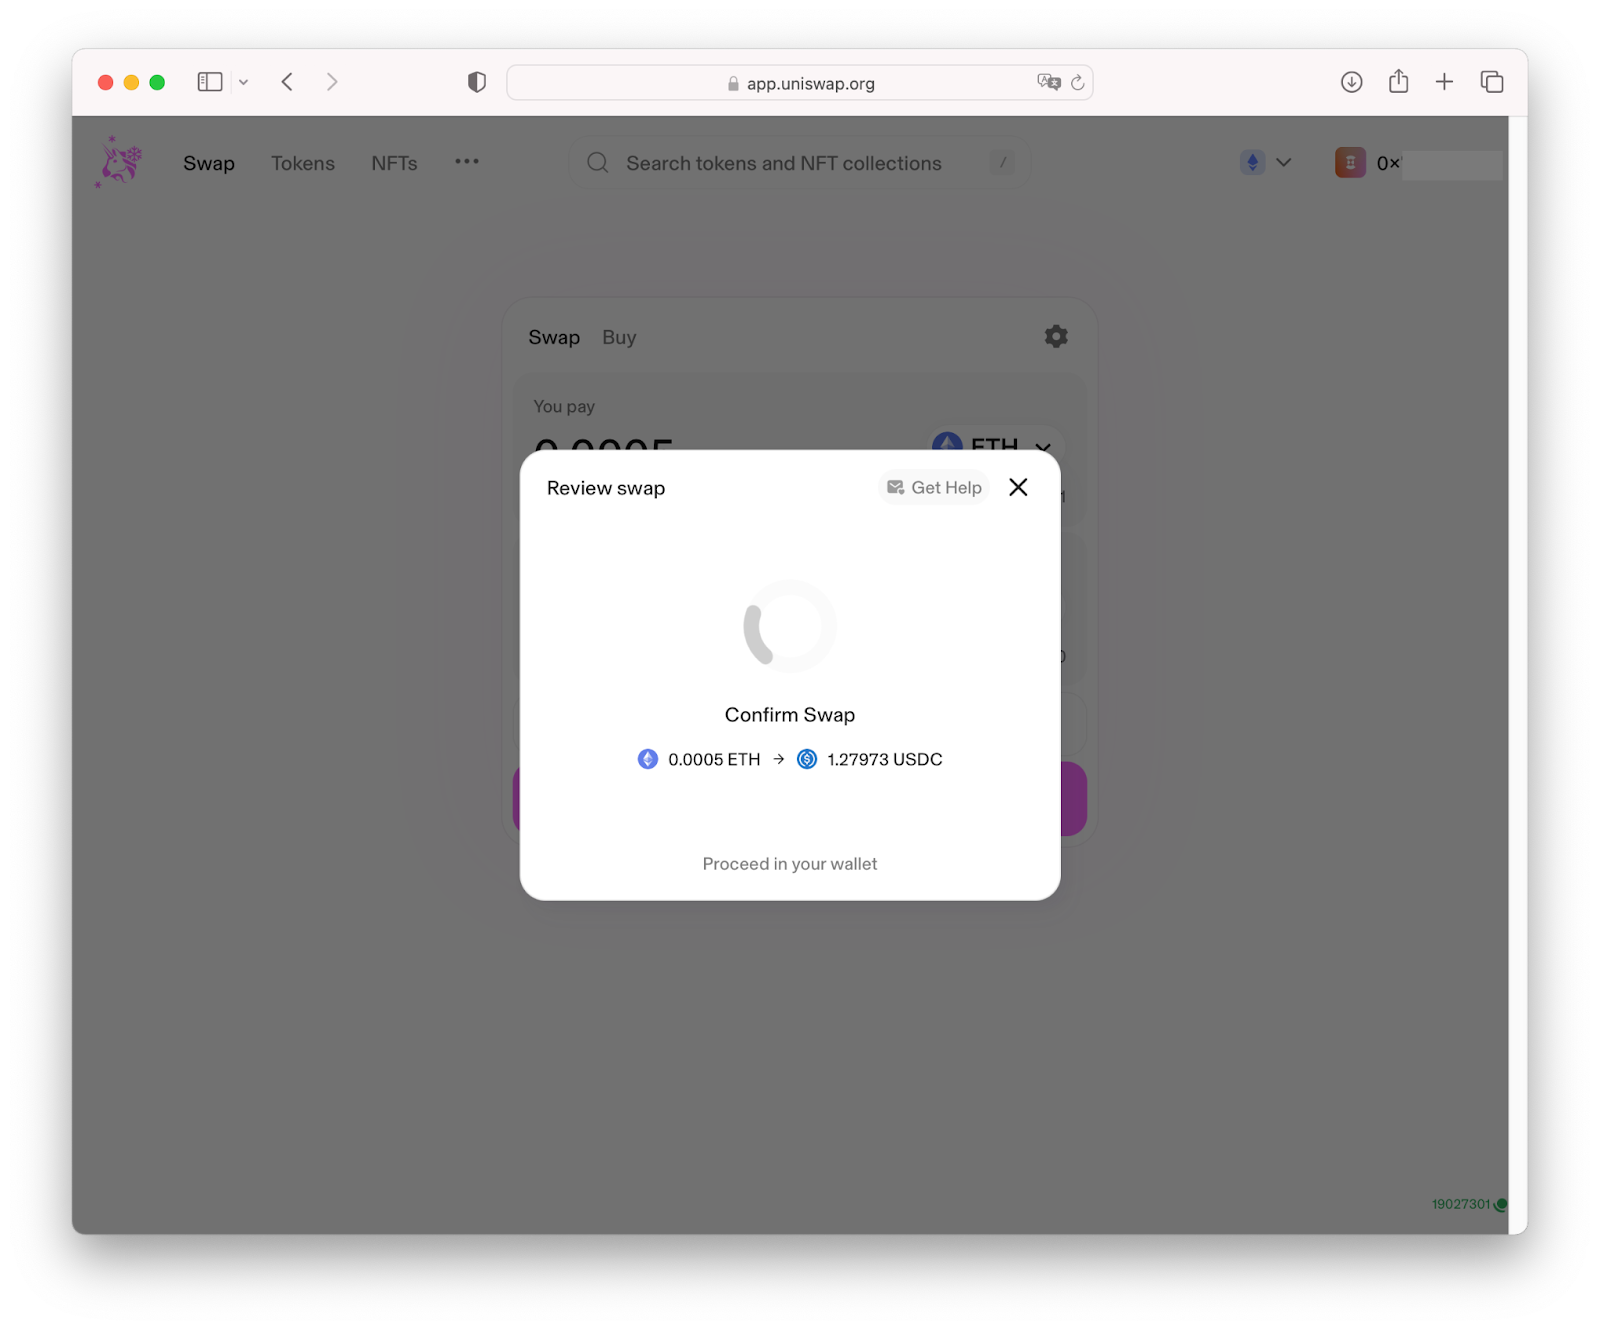
-
The BitBoxApp Prompt: When you take an action in the DApp that requires blockchain confirmation (like submitting a transaction or signing a message to prove ownership), WalletConnect acts as the secure messenger. It forwards the request from the DApp to your open BitBoxApp.
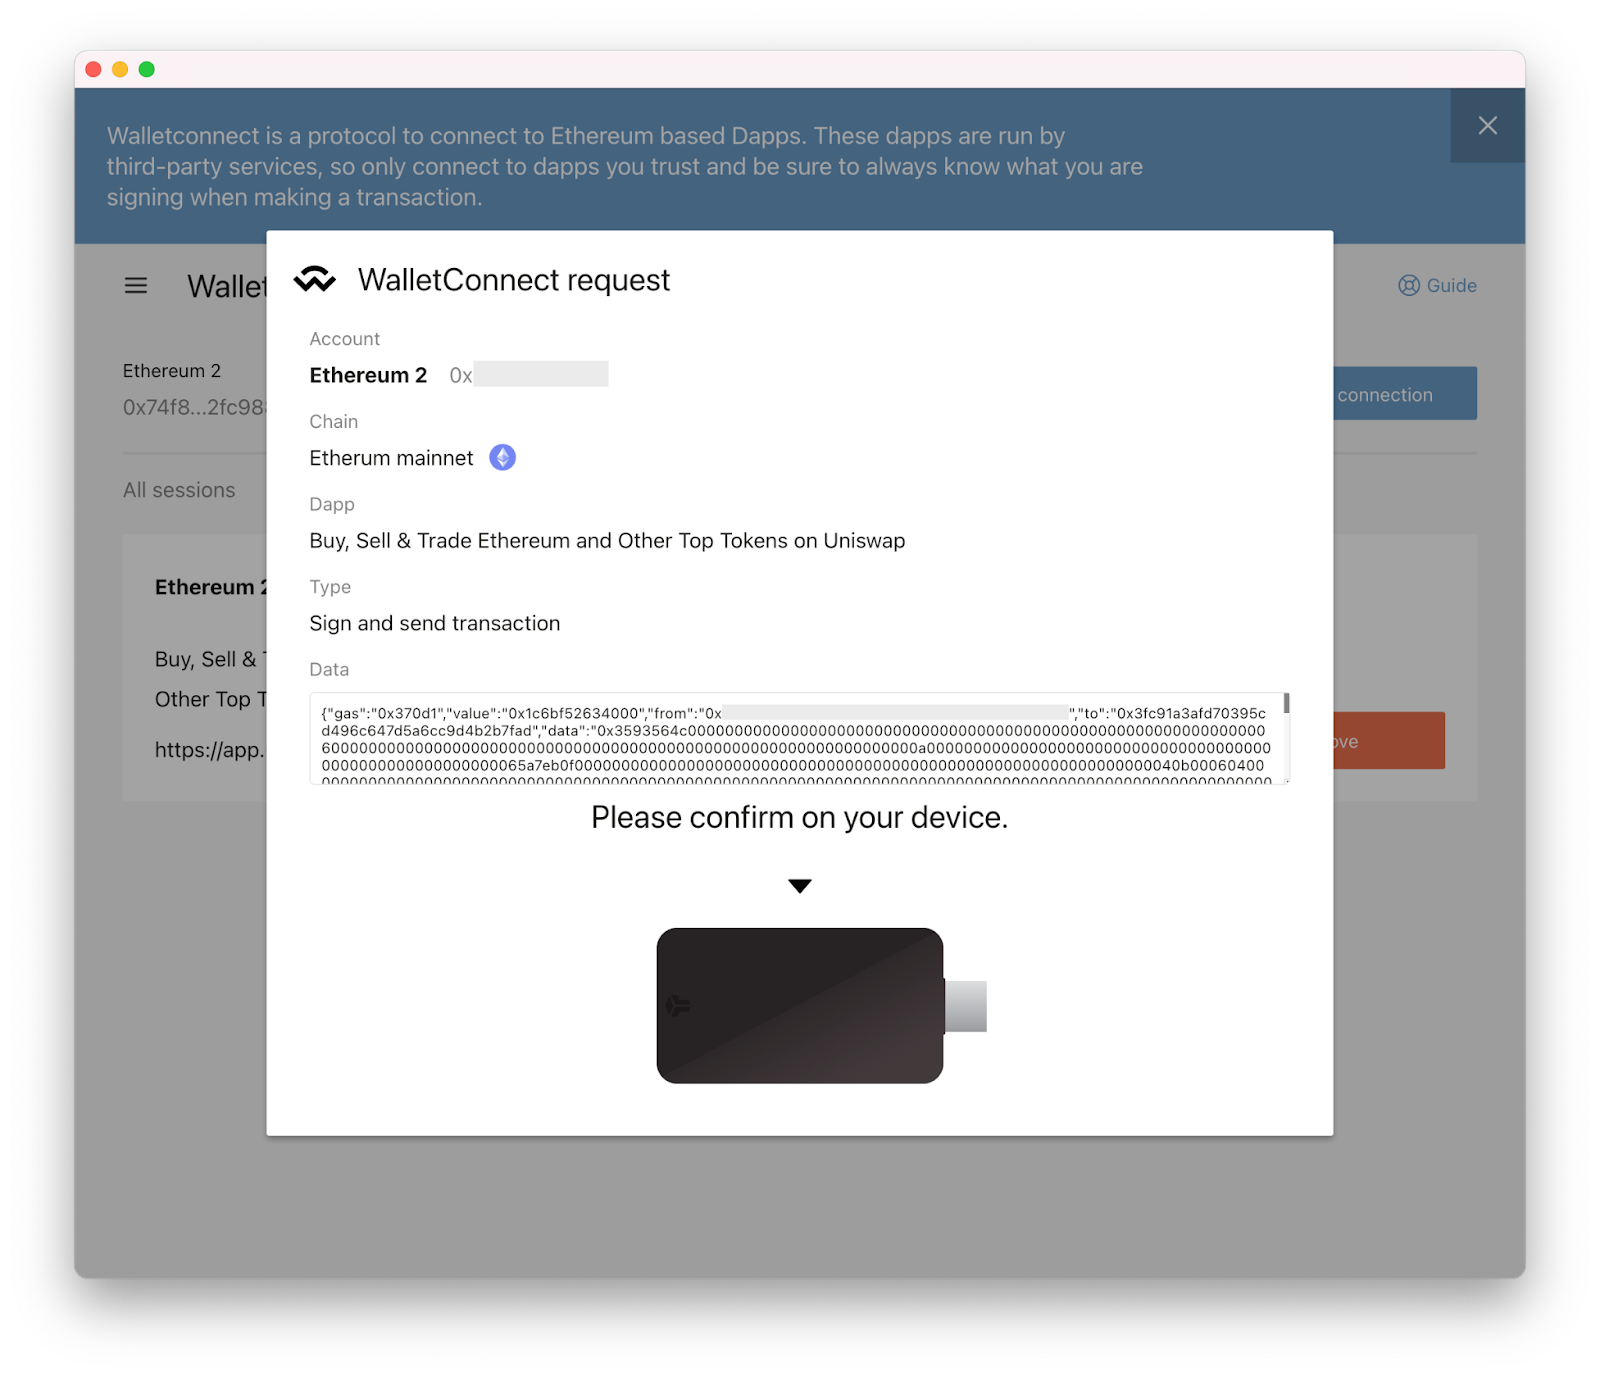
- The CRUCIAL Step: Verify on Your BitBox02!
- The BitBoxApp will now prompt you to check your connected BitBox02 hardware wallet.
- Look closely at your BitBox02's built-in screen. It will display the critical details of the action you are about to approve.
- THIS IS THE MOST IMPORTANT STEP. Treat this verification with utmost seriousness. Carefully read every piece of information shown on the BitBox02's trusted display.
- The BitBoxApp will now prompt you to check your connected BitBox02 hardware wallet.
- The BitBoxApp will then broadcast the transaction to the Ethereum network.
Important: Always ensure that the BitBoxApp is open and your BitBox02 is connected when interacting with DApps. Each DApp must be connected individually to ensure proper authentication.
Conclusion
The WalletConnect integration within the BitBoxApp represents a powerful combination of the BitBox02's rock-solid hardware security and the convenience needed to engage with the rapidly evolving world of decentralized applications.
By understanding the connection process, diligently following the security steps – especially verifying everything on your BitBox02 device – you can confidently navigate the exciting possibilities of Web3.